There are a lot of stories about maintenance of wood structures. Some people would say that going with something more pricey like cedar wouldn’t need staining because it would eventually weather to a grey like color. But some people wouldn’t want their wood to go gray, especially if they would be spending money on it. So before it goes gray, or changes into any other color, make sure that you protect it from the very beginning. If you ask professionals from all over, there’s one thing that they would agree on, and that’s no matter what your wooden structure is on your property, it would need maintenance. There’s no exception whether it’s a fence, shed, deck, or anything else. Every wood, unless it’s manufactured (like composite wood) would need to be maintained and protected (sanded and stained). You can add elbow grease into your protection routine to make sure it lasts longer. Find the best knee pads with heavy-duty protection.
How do the professionals handle their wood?
- Begin by using a pressure washer. But make sure that if you’re dealing with a soft wood like pine, cedar, and spruce, you are careful with the settings of your pressure washer and the distance of the wand to your wood’s surface. Yes, pressure washers could cause damage to wood that are soft. Make sure to always test on a hidden spot to know whether the setting is good to go or it would cause the wood to lift its fibres.
If the surface of your wood is filled with products you might need some paint remover and stain. Whenever you take this path, make sure that you always read the instructions and that you use gears to protect you. But remember that if you can, it’s always better to stay away from hash chemicals. During this time is the right time to treat your wood for anti-mildew, but make sure to choose a biodegradable one. When you’re done washing it, don’t forget to make it dry for a couple of days.
- Next thing to do would be sanding. Before starting this, you have to make sure that it’s not going to rain. Here’s the thing about sanding woods, if your wood gets wet before you get the chance to stain or paint it, you’d have to go back from the very beginning of this process ( wash then sanding again) and that could be time consuming and exhausting. Typically home owners doing D-I-Y on their home renovation would rent a sander to use for larger wooden surfaces like their deck floor, and that isn’t a good idea based on the pros. First of all, they don’t really get to reach some parts of the wooden planks. Second, they are heavy. This type of sander can only sand areas that’s flat perfectly. And if you haven’t notice yet, most deck boards are actually curved slightly. So a big sander would take off too much in some areas and less in others.
So yes, the best way to do this is with a hand-held belt sander, palm sander, or even a sanding sponge could be good. Always, always remember to use your safety gear. And a pro tip, if you think you can’t do it, hire a professional. When pros start they use belt sanders with a grit belt of around 50, and they work backwards. After that they’ll use a palm sander for areas that their belt sander couldn’t reach. They then use a sanding sponge that’s wrapped in sand paper for other areas that a palm sander couldn’t reach. They repeat the process with a lighter grit of around 60/80, until it leaves a smooth surface that would be able consistently take the stain.
- And for the final touch, staining. The rule here is pretty basic, the thicker the stain you apply, the better the protection would be. Don’t waste your money on clear coats because they don’t really provide protection. Semi-transparent or the translucent ones are also very thin, though it could protect you’d still have to reapply yearly. If you’d be staining a pergola or other small structures it wouldn’t really be a big deal, but if you’re talking about a deck then you better aim for something that would last long. Solid stains and paint are those that are used for maximum protection. You can use them especially on areas that would more likely wear and tear more if you want other areas to have a more natural looking appearance. Also, the stain brush would make a difference so make sure that you use a proper stain brush.
How often should all of these be done? Well it actually depends. Mother Nature has its own plans but you could do it around every two years, If water beads and pools on your woods then it still is protected. It’s time for some maintenance once it doesn’t.
What is the best belt sander to use?
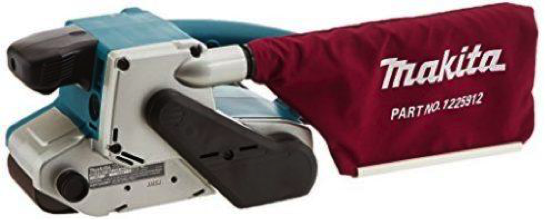
1. Makita 9903
If you want something that’s easy to use, has power and speed then this belt sander would be the best for you. This works perfectly for wood, and furniture makers, carpenters deck builders has been happy with this belt sander. It has a powerful 8.8 AMP motor which could maintain a steady speed. It removes material accurately and quickly and you won’t have to keep on adjusting the belt because it has an auto tracking system. It is also a lot less noisy than the others with 85dB.
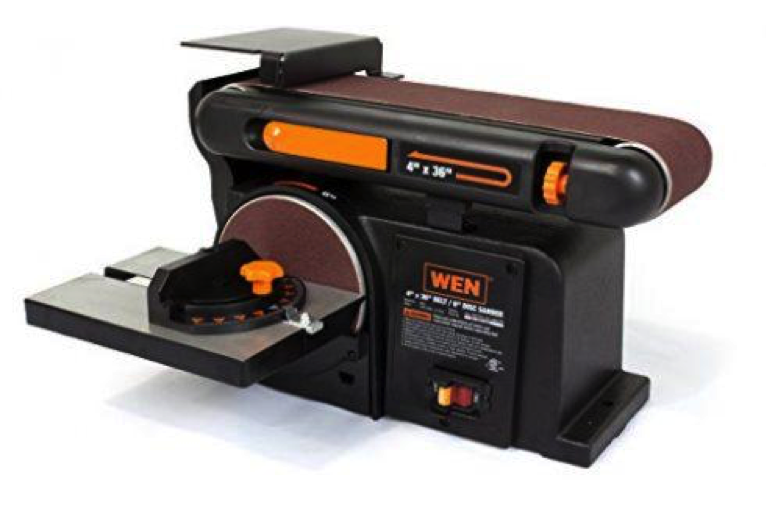
2. WEN 6502
You could tilt this sander from 0 to ninety degrees, and it works as a two in one sander that offers a belt and a disc. It’s base is strong, built with cast iron. The base prevents heavy vibrations and this WEN 6505 is basically built for heavy duty jobs. It has a 4.3 AMP motor with 3600 RMP that is more than enough for sanding, smoothing, and even removing jagged edges from your wood. It wouldn’t bog down because of a heavy load because this machine was built to be tough. You can easily change to sandpaper grit with just releasing a lever. You can work with any project with this machine because you could move it in any direction.
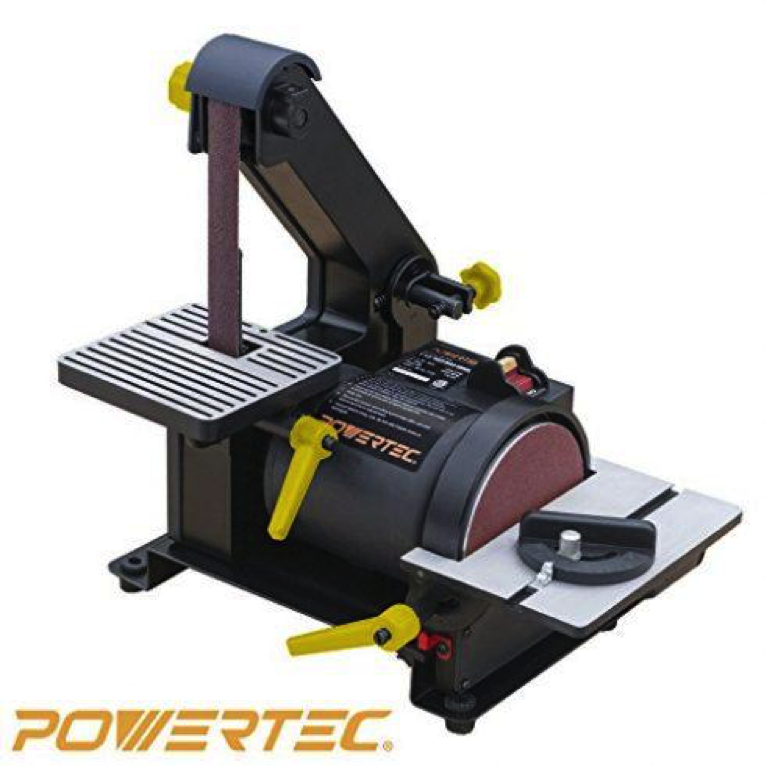
3. Powertec BD1500
This product is another two in one type of sander that could do both sanding and polishing.it has more than enough power to work on most of the projects at 2.5 Amp. It has a tilting table 4” x 7 ¼ and could tilt to 45 degrees to make sure that you get a good angle for sanding every time.
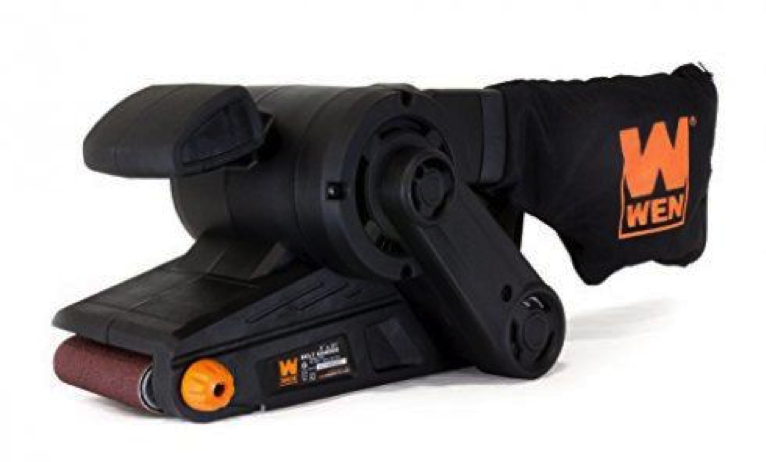
4. WEN 6321 w/ dustbag
This one is another great offer from WEN, it also includes a dust bag to make sure the dust doesn’t fly all over your workplace. It has a 7 AMP motor that could ensure you that it could quickly do its job. It only weighs 6lbs to make sure that you won’t feel exhausted while using it. It also has a lock in safety so you wont have to keep a grip on the lever the whole time you’d be sanding.
Rules to go by when buying a sander
The bigger you sander is the better it would be- We’re talking about the size of the belt here. 4 x24 belt is an ideal size because it could cover a good amount of surface on the wood.
Variable speed should also be considered- This basically gives you more control over the machine. If you have a slow one with a good belt grit then you have absolute control on your machine.
Now, here’s the thing. More people prefer to rent a belt sander instead of buying one. Well, it’s a good idea if you’re planning to use it one time, for just a few tasks. But if you’re planning to maintain your deck regularly then it would be more cost efficient to buy yourself your own belt sander.
Conclusion
There are many stories about experiences of people regarding maintaining their decks, as some said it changed color, some said if you’re using quality wood it won’t need maintenance. But of course if you’re already spending on it, why not make sure it’s well protected, right? There’s more to lose if you don’t protect it over going the extra mile to protect it from the very start. This article has spoken about how pros would protect their decks and includes 5 belt sanders that has been tried and tested an performed well to be part of this list. While belt sanders are more commonly used on wood, thus the reason why more ads show them being used on wood, but that’s not the only thing you can use it on. There are many more materials you could use them on like metal, and laminates. If you are planning on doing multiple projects then it would be better to purchase your own belt sander instead of paying more on the long run when renting.


Leave a Reply